Fun and Easy Butterfly Life Cycle Activity for Kids
Watching kids learn about how animals grow and change is always so magical. This Butterfly Life Cycle Activity is a simple and fun way for preschoolers and kindergarteners to explore nature this spring. It’s a little bit of craft time and a little bit of science, the perfect mix for curious little learners.
You can let each child make their own butterfly life cycle craft or turn it into a big group project to display in your classroom’s science corner. Use the free printable butterfly life cycle template to help guide their learning and creativity. It’s a wonderful hands-on activity to go along with any spring or insect theme.
Follow for more: April Baby Shower Themes for a Sweet Spring Celebration
Materials You’ll Need
- Free Butterfly Life Cycle printable template
- White paper
- Paint
- Small white pom poms
- Glue
- Small craft stick or pipe cleaner
Follow for more: Butterfly Baby Shower Ideas
How to Make a Butterfly Life Cycle Activity
1. Download and print the free printable template
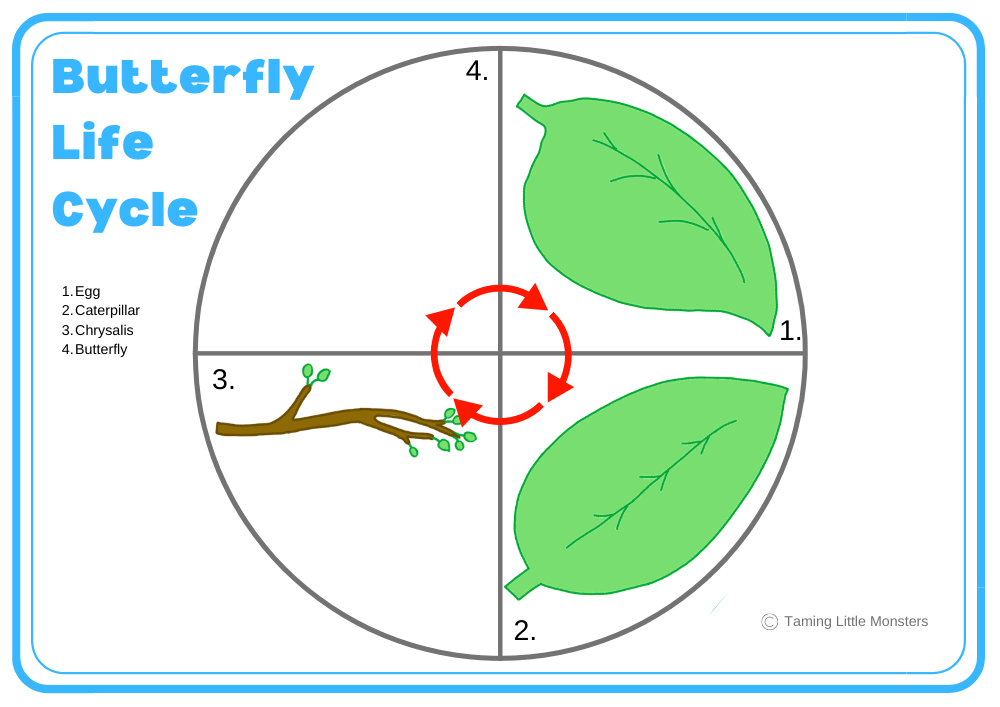
You can find the free printable at the bottom of the post. Just click the large blue button to get your copy. The PDF file includes a life cycle wheel, fun facts about butterflies, and real images showing each stage of the butterfly life cycle that you can use during circle time.
If you don’t want to use the free template, you can always make this butterfly life cycle craft on a paper plate instead. Just be sure to have some construction paper and a few simple craft supplies ready to create the background.
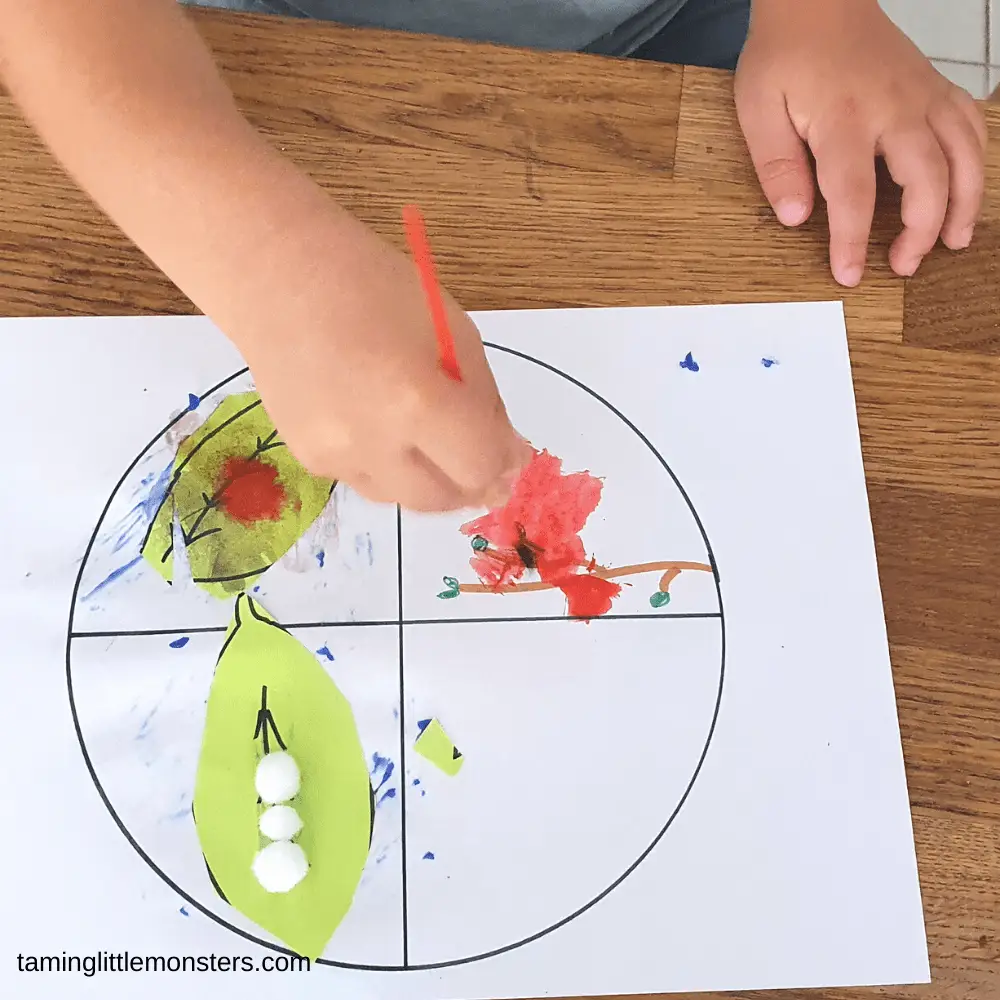
2. In the top right-hand corner of the wheel, make your eggs
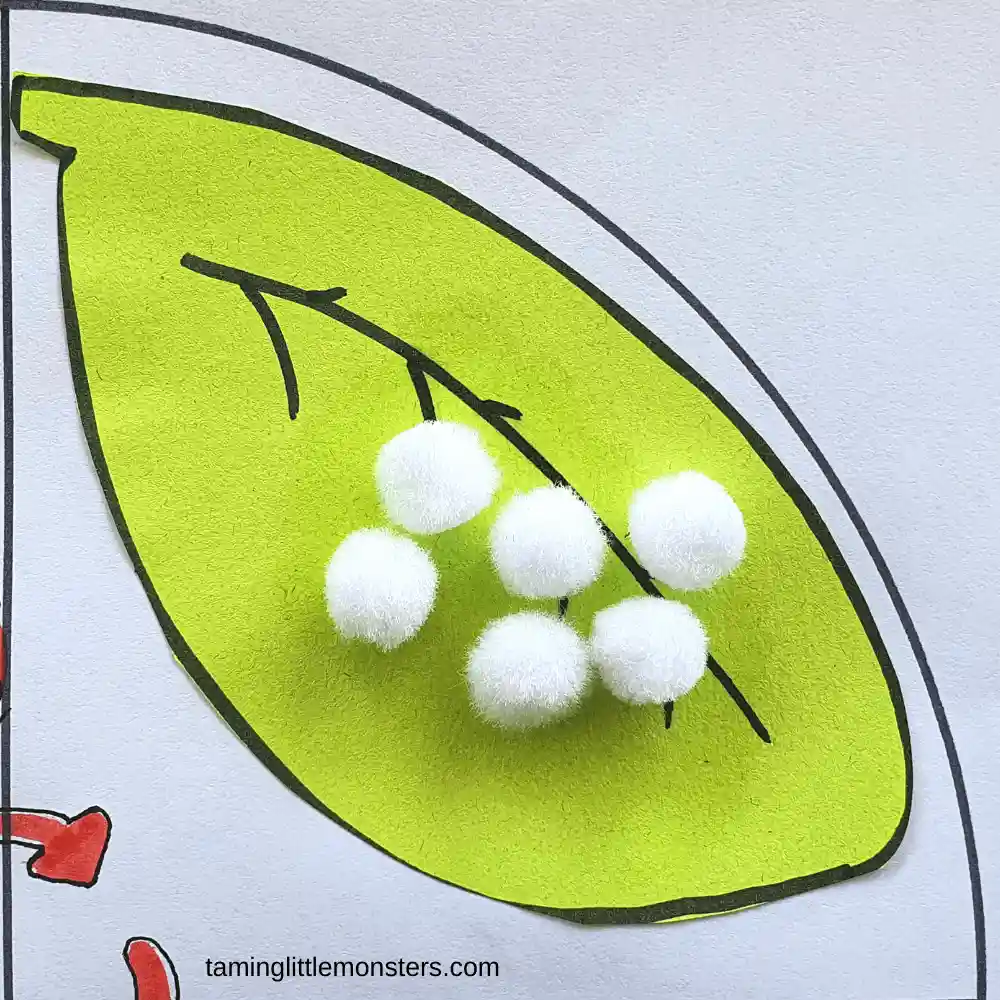
Use small white pom poms to represent the butterfly eggs and glue them onto the green leaf. You can also dip your child’s finger in white paint and make eggs using their fingerprints for a cute and personal touch.
3. In the bottom right-hand corner of the wheel, make your caterpillar
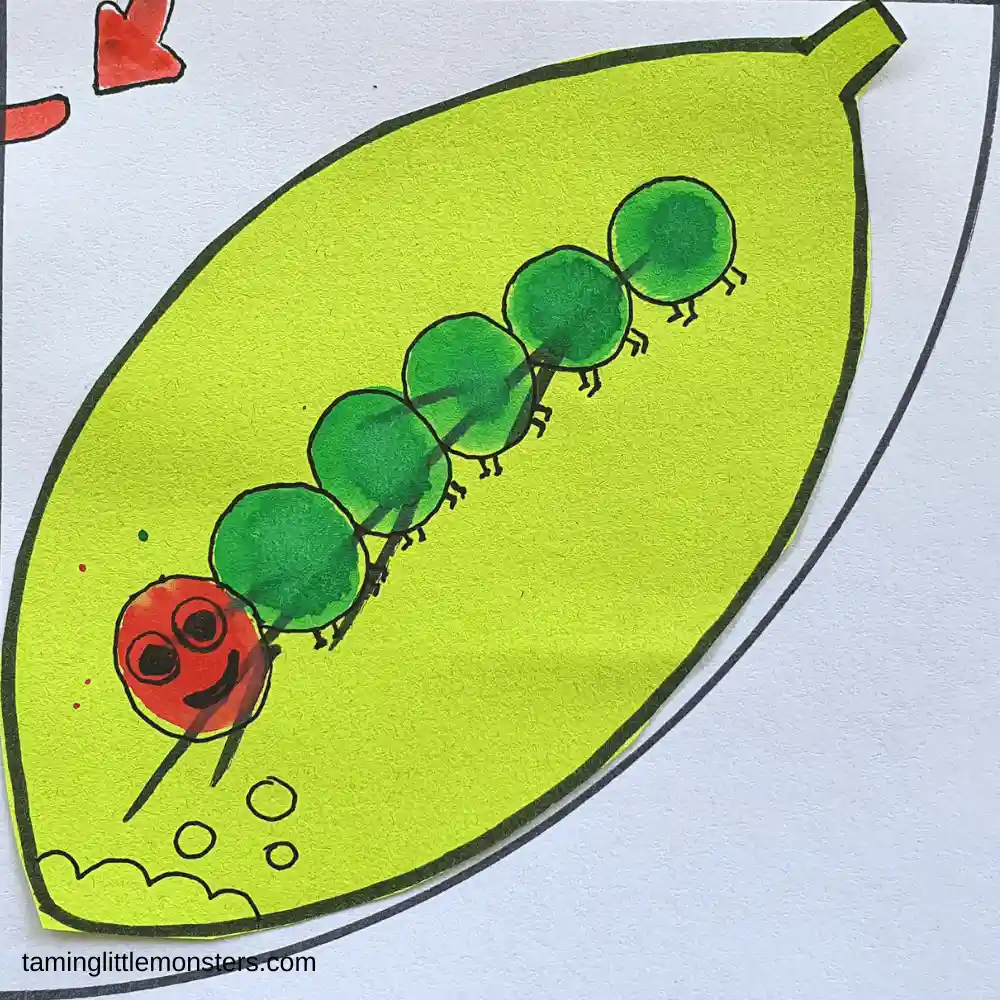
Use red and green paint to create a little caterpillar with fingerprints. If you prefer, you can use pom poms, buttons, or any other small craft materials to make your caterpillar.
4. In the bottom left-hand corner of the wheel, make your cocoon
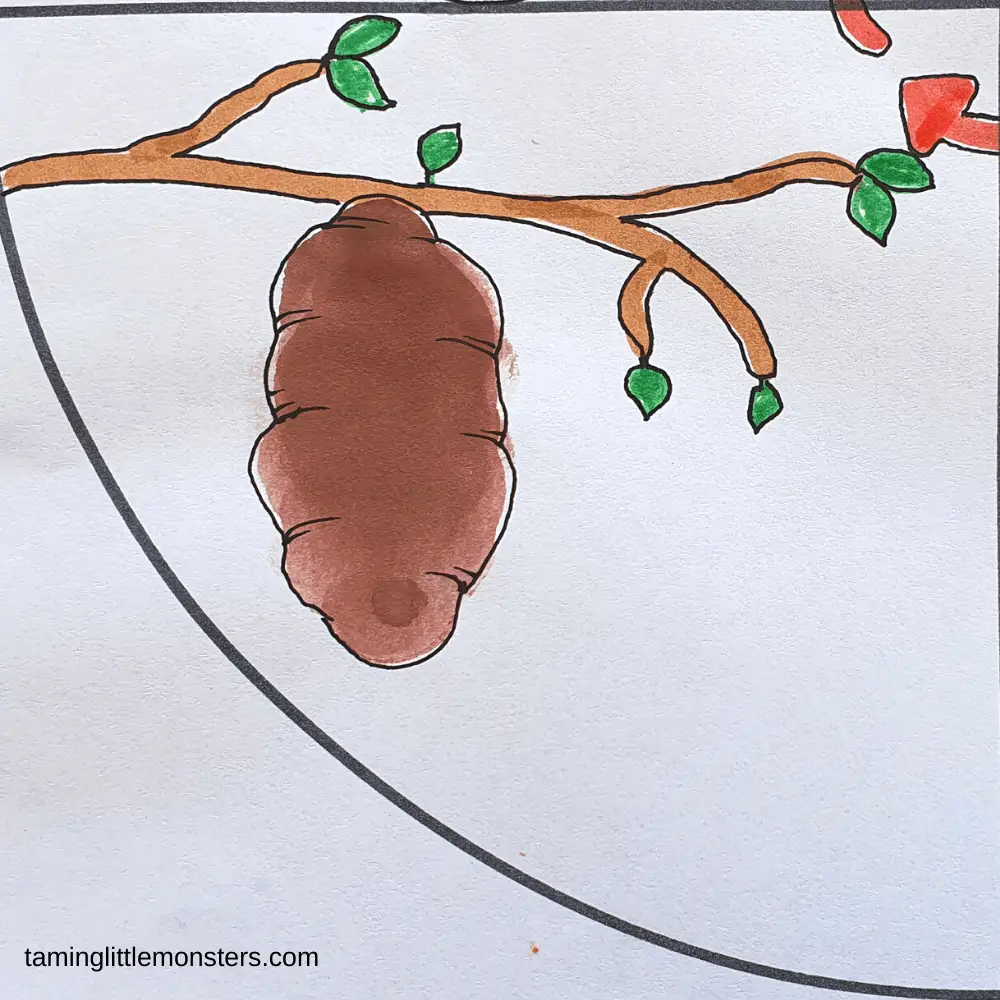
Paint a cocoon or chrysalis hanging from a tree branch. If you’re making this butterfly life cycle craft on a paper plate, you can paint the chrysalis tucked under a leaf instead.
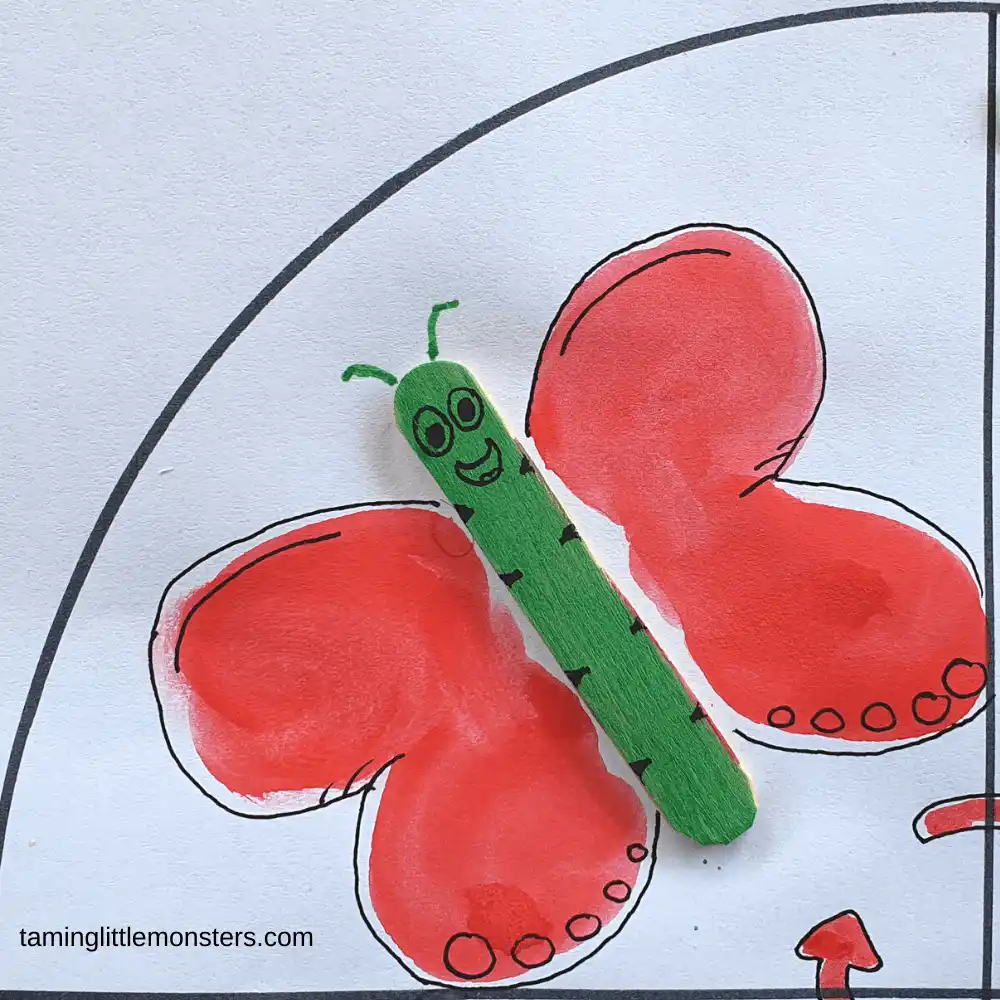
5. In the top left-hand corner of your wheel, make your butterfly
Cut a craft stick in half to make the butterfly’s body and use red paint to create the wings. If you don’t want to cut multiple craft sticks for your class, pipe cleaners work just as well for the body and are easy to trim to size in bulk.
6. Draw some details
Once the paint has dried, take a black marker and outline each part of the picture to add a bit of detail and definition.